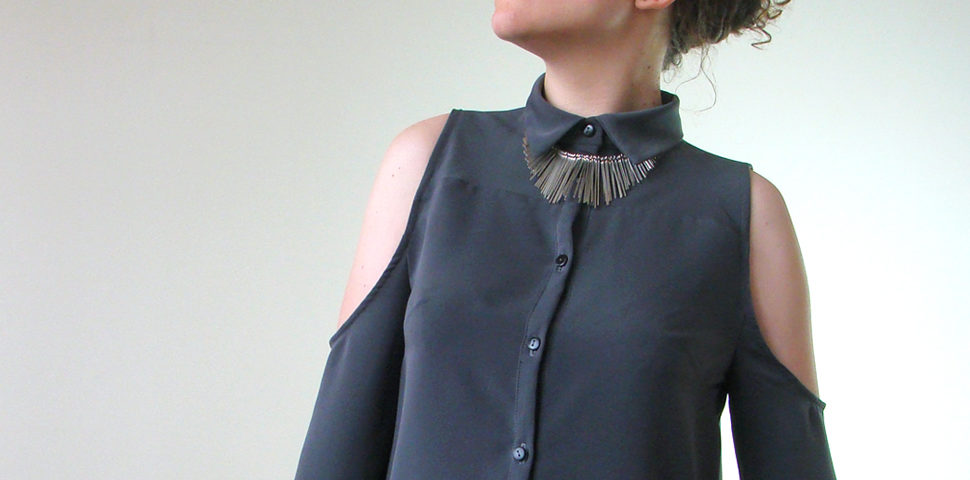
It seems like you enjoy tutorials, so we made this little pattern making guide to modify your Rome shirt pattern into a trendy cold shoulder shirt.
Supplies

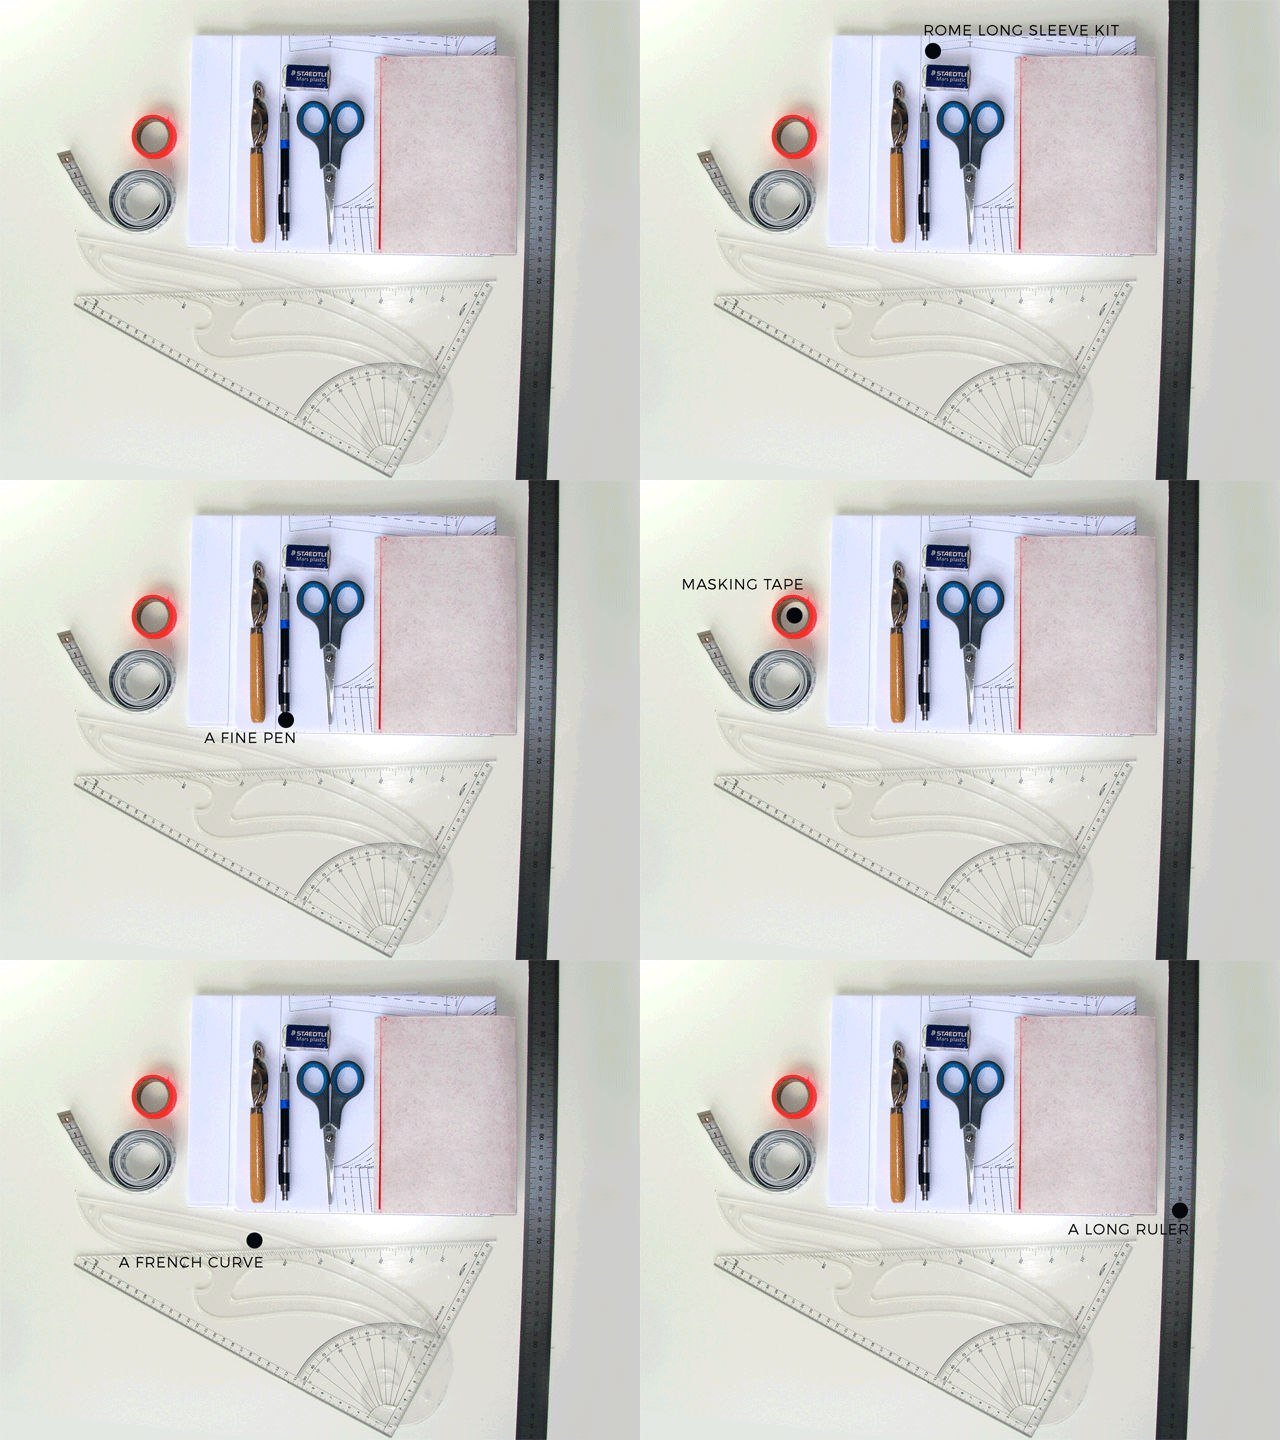
- One printed copy of the Rome sewing pattern
- One printed copy of the Rome long sleeves kit sewing pattern. We are going to modify in this tutorial the front, back, yoke and sleeve pieces from this kit.
- Carbon paper and a tracing wheel
- A fine pen
- An eraser (just in case!)
- Paper scissors
- Some masking tape
- A flexible ruler, or a tape measure
- A French curve
- A set square
- A long ruler (50 to 100cm)
1- Place some markers
Credits :
© ORAGEUSE, 2017 – all rights reserved
Music: Spring in my step, by Silent Partner
O N…T H E…Y O K E
* Trace the soulder line by connecting the two notches
* Starting at the neckline, on this line, place marker A according to that chart:
| S34 | S36 | S38 | S40 | S42 | S44 | S46 |
| 7,9cm | 8,2cm | 8,5cm | 8,8cm. | 9,1cm. | 9,4cm. | 9,7cm. |
* Trace a line perpendicular to the shoulder via A
O N…T H E…S L E E V E
* At the top of the sleeve, go 0,85cm from the top notch, headed for the back of the sleeve.
* Trace a vertical line from that point, that should be perpendicular to the wrist line. On this new line, measure 22cm from the wrist line. At the top of the line, measure 1cm. Measure the distance between these two points, divide in two equal parts. From this new point, measure 2cm down and place marker B.
* Trace a perpendicular line via B.
* Draw the seam lines 1cm from the edge of the piece from the sleeve assembly notches to the future underarm seam.
* With the set square on the line that crosses B, place markers C at the front and D at the back of the sleeve, 10cm up from B line.
* Measure the seam lines between C (then D) and the underarm seam line (1cm from the edge) using the tape measure (or flexible ruler).
O N…T H E…F R O N T… A N D …B A C K …P I E C E S
* Starting at the armhole assembly notches, draw the seam line 1cm away from the edges of the pieces to the future side seam.
* On this line, 1,5cm away from the edge of the piece, place the distance you measured on the sleeve to find the C’ marker. Do the same to place D’ on the back.
2- Trace new outlines
Credits :
© ORAGEUSE, 2017 – all rights reserved
Music: Blues Skies, by Silent Partner
* Put the yoke on the top of the front piece as if they were sewn together, seam line on seam line, 1,5cm away from their edges (here the pattern plans French seams).
* Place the sleeve on the top, matching points C and C’ (see through your paper if it is transparent or use a pin as shown in the video). The vertical line we traced on the sleeve should remain perpendicular to the horizontal lines on the front piece (waist, hips…).
* Tape into place so that nothing moves.
* Using the French curve, draw a line that goes from A to B via C/C’ (for the front) or D/D’ (for the back). Start with two separated curved lines A/C and B/C. Both should be more curved around A and B, and almost flat around C and D. You might need (depending on your size) a third curve to join these two lines, and several attempts to find the right line. You must get a smooth and continuous line with no peaks. At A and B, the line should die out on the tangents, so that the line is flat on about (at least) 1cm at the shoulder (A) and arm (B).
* Use the tracing wheel and carbon paper to copy the line on the front piece, between the yoke’s seam line and the C/C’ marker.
Proceed the exact same way for the back piece.
It can be uneasy to find the right curves when you are not used to the manipulation of the French curve. If you are in trouble, it might help (depending on the size you are working on) to slightly move points A and B (keeping them on their lines, A heading to the armhole, and B to the top).
3- Add seam allowance & recut the pieces
Credits :
© ORAGEUSE, 2017 – all rights reserved
Music: Crimson Fly, by Huma Huma
Once the whole outline of the shoulder opening is traced, and depending on the finishing method you will use, add seam allowance on the modified parts of the pattern pieces (front, back, sleeve and yoke). We opted for a bias tape to finish the shoulder opening, so a 1cm seam allowance is all we need.
In the video, we finished the seam allowance with right angles to remove the peaks and to ease the assembly. If you are not familiar with this method, you can skip this step.
Cut the pattern pieces following these new outlines.
4- Sew the shirt
Assemble the shirt as you would have done otherwise, following the instructions in the leaflet. Close the underarm seam of the sleeves and sew them to the shirt, from C/C’ to D/D’, after you close the side seams of the shirt.
Finish then the raw edges of the shoulder opening with a bias tape that should be thin a supple. We recommend you cut your own bias tape on the same fabric you used for your shirt, if it is not too thick. The more flexible your bias tape is, the more easy it will be to keep the opening’s edges flat on the arm once the shirt is worn. Place the ends of the bias tape at the top of the shoulder, to avoid visible thickness on the arm.
That’s it, well done 🙂
It’s up to you!
See what others did with our Rome pattern here on Pinterest!
Show us your own Rome shirt on Instagram, using the official hashtag #orageuseRome. You can also send us an email at contact@orageuse.com.


