
Everything is pretty and tempting in haberdasheries: when you start sewing, it is hard to decide between what is just a fancy not-that-useful tool and a tool that will prove its real worth in the long term. And when you are no longer a total beginner, you start to ask yourself how to sew faster and better, how to step up your sewing game by being more accurate. Well, one of the answers is to use the right tools. Here are some of our essentials.
1- A wrist-held pin cushion
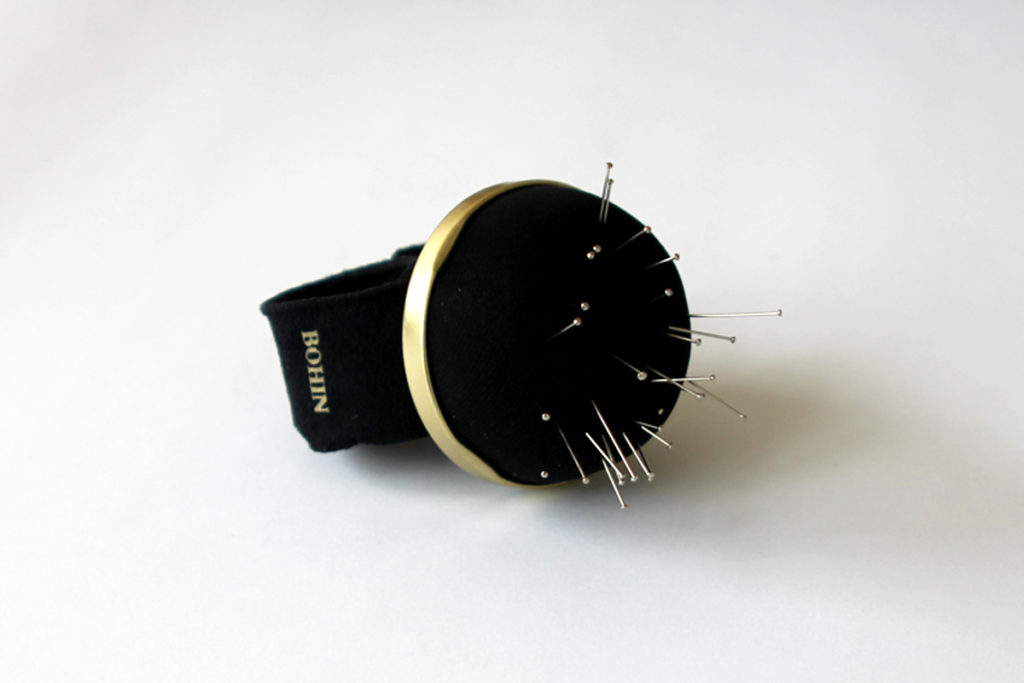
Sewing is not only being in front of you sewing machine : most of the time, you go back and forth from your iron board to your machine, you try on the clothes, work with your dummy and back to the sewing machine… It demands to stay focused and organized all the time. And what is more annoying than lacking one pin during a tricky sewing step, or than having left your pin box on your ironing board when you need it in front of your machine RIGHT NOW ?
Well, a wrist-held pin cushion will not change the world, but it will help for sure to save your energy and focus for what really matters: sewing !
Where can I buy one ? At most of the haberdasher’s, in store or on line.
2- The Pilot “Frixion” pen
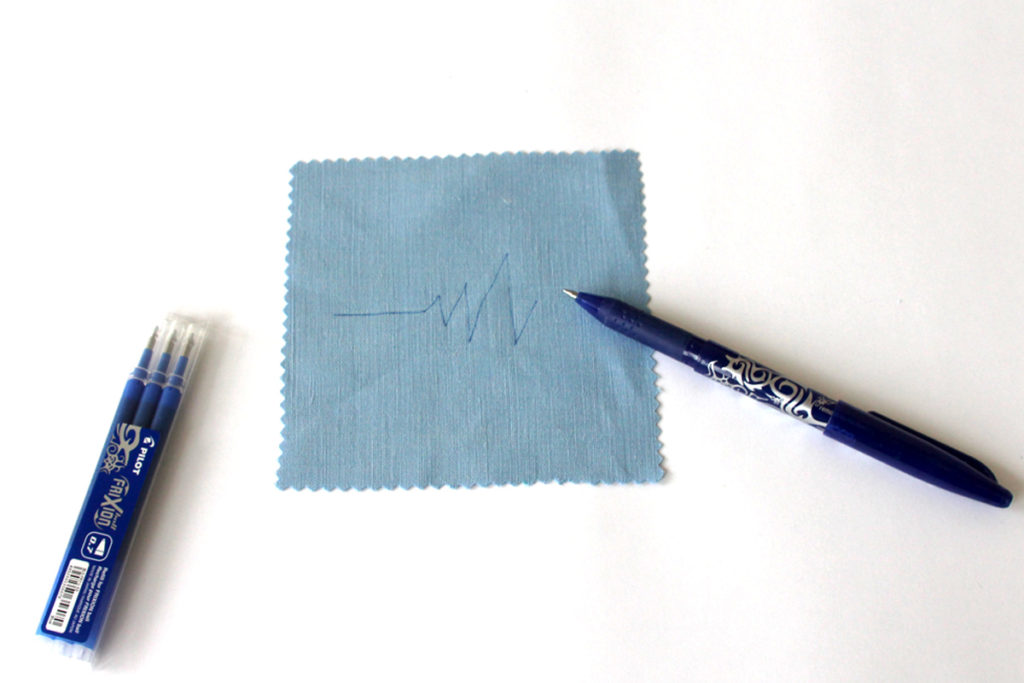
EDIT: Some of our readers warned us that they have had troubles with the Frixion pen (white stains that remains after erasing). Though we have not experienced it ourselves, we strongly recommend you take time to try on a fabric scrap before using it on our current project!
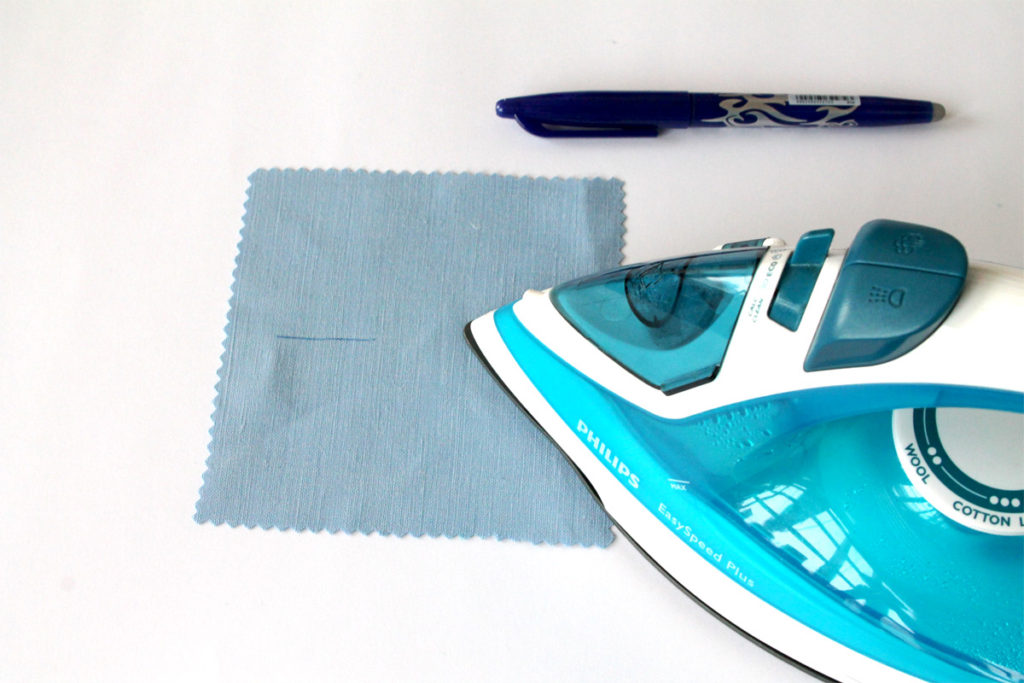
Meant for students who wants to use a ball pen without crossing-outs, this pen has an eraser at the top, to simply erase its ink on paper. But it is when you try it on fabric that you really understand its power : on most of the fabrics, you can trace a thin and accurate line that is totally erasable with the heat of your iron ! There are many marking tools for sewing purposes, but sometimes you wish you could trace on the right side of your fabric, or on light shades being sure that no mark will remain after the garment is washed. Of course, we recommend you try first on a scrap of your fabric, but so far, we hardly found fabrics on which it is not working.
Bonus feature : you can easily buy refills, what makes your purchase quite sustainable.
Where can I find it ? In France, it can be found easily in supermarkets or stationer’s shops.
3- A point turner
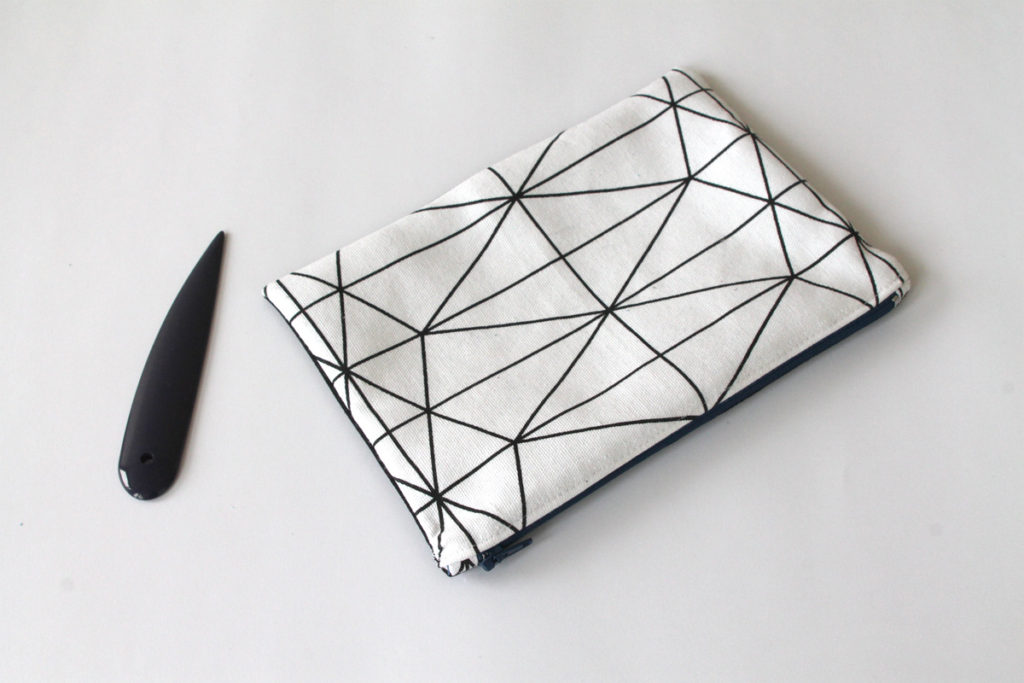
This versatile little tool creates a perfect corner every time, and that is the end of holes and damaged fabric that can result from using a pencil or pins to turn your corner right side out. Of course, you will still have to recut and notch your seam allowance !
Where can I find it ? At some haberdasher’s (but not everywhere), we found ours online (the brand is Prym).
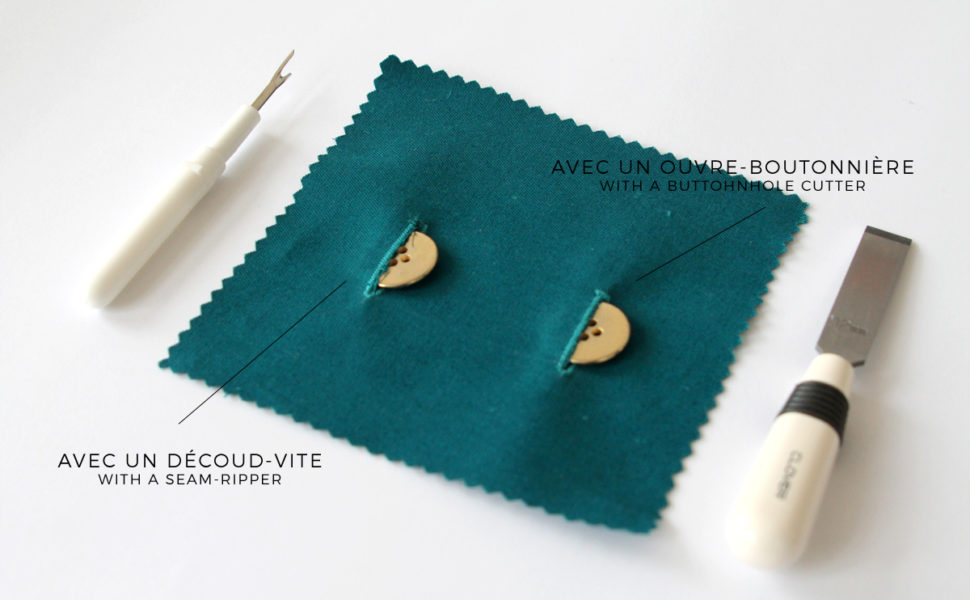
4- A buttonhole chisel

A lot of beginner seamstresses are afraid of having to sew buttonholes with their machines. But the step that comes just afterwards can be stressful as well. Opening a buttonhole with a seamripper (as often recommended on the instruction book of your sewing machine) can cause accidents (when you tear your fabric by accident) and a not-so-pretty result. The fabric is ripped and the fibers are pulled and damaged, so the result is not that neat and accurate in the end. A buttonhole chisel has a sharp blade that cleanly cuts the fiber in one gesture. And there is so much less risks to damage your garment than with a seamripper !
Where can I find one ? At some haberdasher’s, ours is a Clover (a northern America’s brand easily found in Europe), we bought it at Rascol’s.
5- Appropriate presser feet
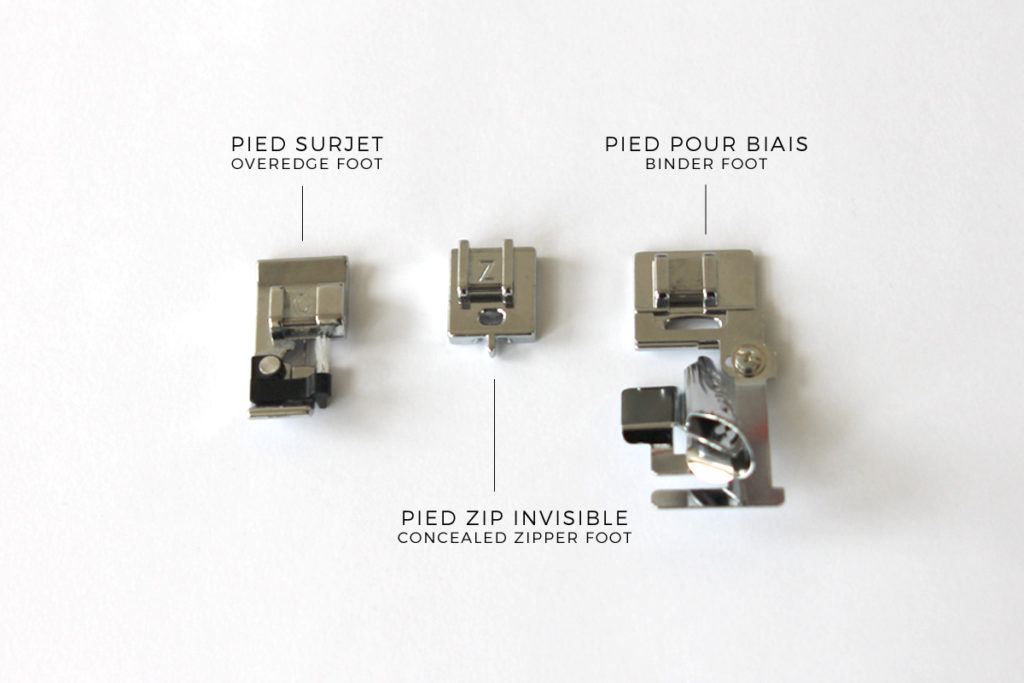
We could write so much more on this subject : along with choosing the right threads and needles, using the appropriate presser foot can save you a lot of time and help you to have a great finish at the first try. Here are some of the most useful ones that we own (these are Janome, if you use another brand, the presser feet can look a bit different).
- the overedge foot: everyone does not own a serger, and when you don’t, finishing the edges of your fabric with a zig-zag stitch is not always satisfying. The overedge foot helps to do it better with a sewing machine. Using a overedge stitch (if your machine has one, a zigzag stitch can work otherwise), keep the edge of your fabric against the guide. There is a little brush on this foot that spreads out the thread to better cover the edge of your fabric.
Video tutorial (in English).
- the concealed zipper foot: a great time saver ! Using it, you will not fear the concealed zippers anymore, and probably soon make them perfect on your first try.
Video tutorial (in English). - the binder foot: When having to instal many meters of bias binding (hello Londres trench-coat!), doing it with the traditional two seams method can be very long and consume a lot of thread. This presser foot helps you attaching your bias binding with only one seam, and by adjusting the horizontal position of your needle (if your machine allows it), you can have a very accurate result in every situation.
Video tutorial (in English).
Of course, this list is not exhaustive, everyone has his own habits and tricks to sew better. However we hope that you have found some useful advice here ! What about your favourite tools and tricks ? Anything you would like to share with our readers ?
